Before & After
Who doesn't love a good Before & After? I know I do! I'm lucky that this is what I get to do all day, every day - and I love it!!
Here are just a few of our amazing transformations, and how we got there.
Here are just a few of our amazing transformations, and how we got there.
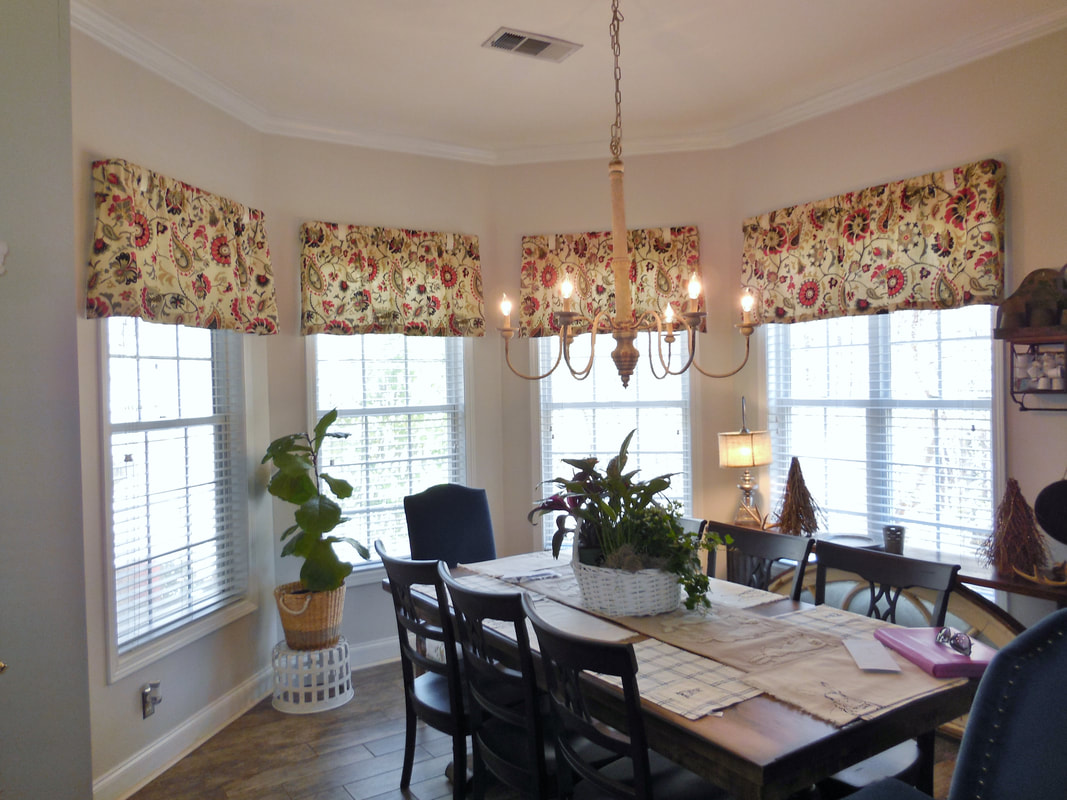
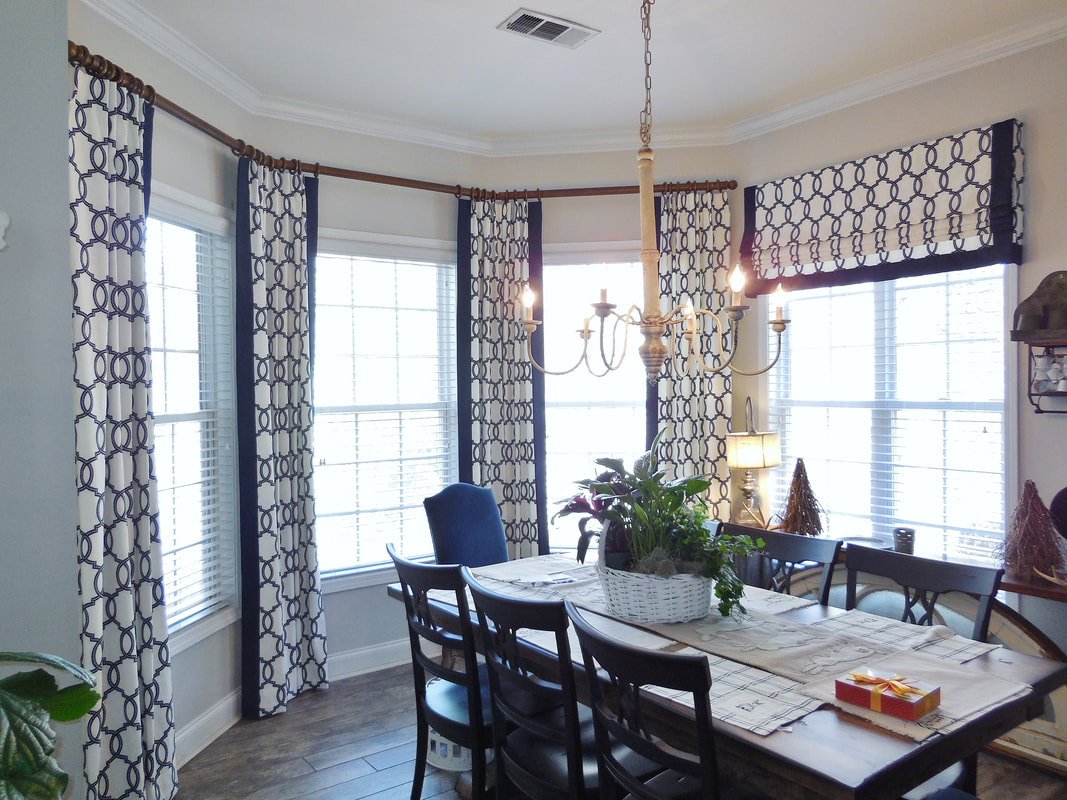
I met with this Client who had Valances up and was ready for a change. Her home has tall ceilings and I knew I wanted to use some of the height we had. As soon as I saw the Bay window and the height of the ceilings, I knew we needed to do Panels on this window. It's the best way to use the height.
Then we talked about the extra window on the side. Did we want to continue our Panels around? We could have done that, but since she had a long table in front of that window, we decided to do a Valance on the extra window. We still wanted the simple, clean lines, so we chose a Faux Roman Shade.
She had begun changing over to navy in her decor, so adding navy into the Kitchen with our Window Treatments would be a good idea.
We looked at a lot of navy prints, but once she saw this embroidered linen with a little sparkle, it was all over! :)
My Client loved the looked of the Banded Roman Shade, so I found a navy fabric that looked amazing with our embroidered linen. Since we were adding banding to the Shade, we decided to add it to the Panels too. That also had the added benefit of grounding the Panels. Now they really make a statement!
She was not home when we installed her Window Treatments, and she called me as soon as she got home to tell me how much she adored everything! And that now she needs Window Treatments on her other windows! I love a happy Client! :)
When I initially spoke to this Client, the first thing she said was that she loved color. So you know that got my attention! :)
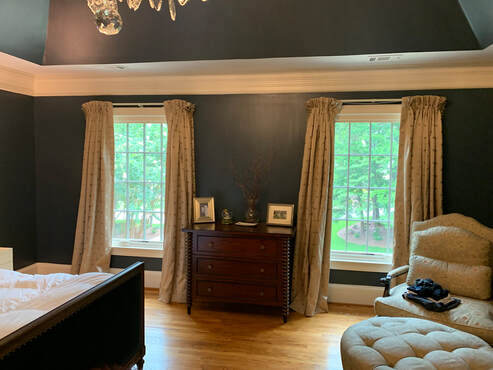
She had just moved here and as you can see, her bedroom Window Treatments really needed help! Since it is the Master Bedroom, we needed privacy and light control. Sometimes you just want to sleep in, you know?!
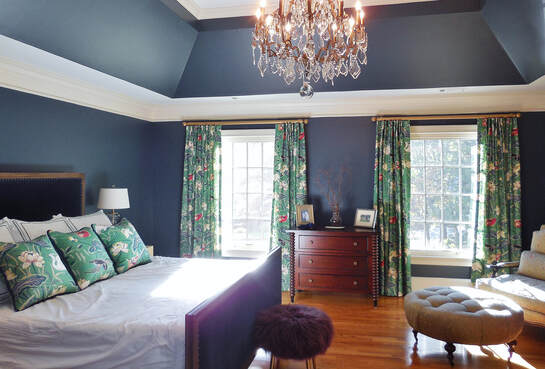
So we chose to do functional Draperies. That way they could be closed at night and the windows could be completely open when they wanted them to be. She has a beautiful gold crystal chandelier in there, so we brought out the gold for our Decorative Traverse rod. Not only does the rod look incredible against the navy wall, but it also brings in a little sparkle.
We didn't have a lot of room above the windows, but we went up as far as we could and out about 8" on each side to make her smaller windows look larger.
We also created matching Pillows for the Bed. It's always a good idea to bring your Window Treatment fabric in somewhere else in the room. Especially when it's something bold like this.
I LOVE the Kelly green fabric against the navy walls. It is so fresh looking! My Client was absolutely thrilled with how it turned out!
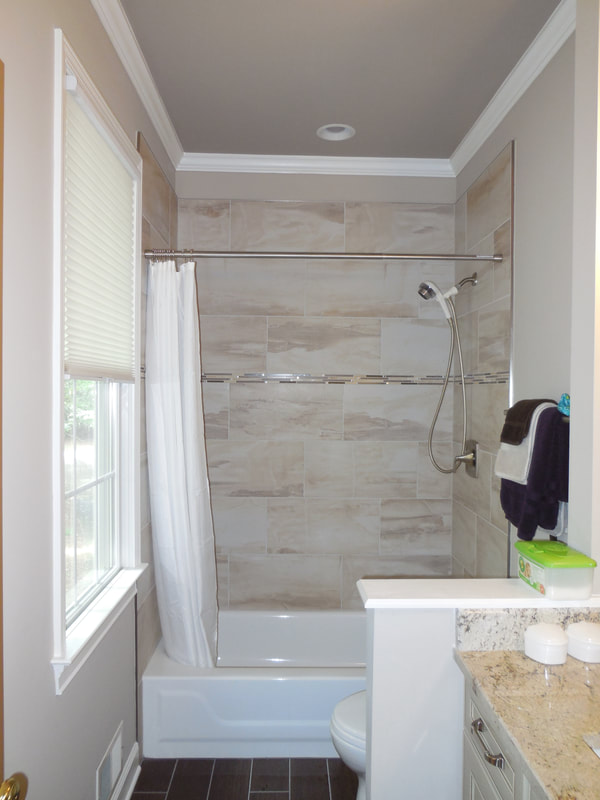
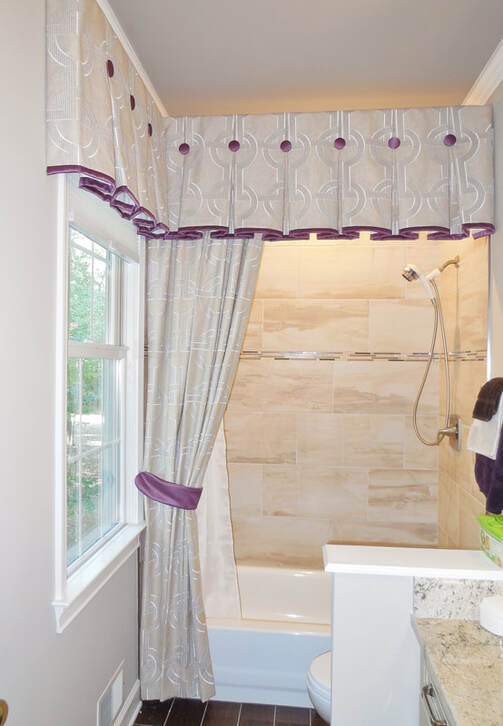
When I met with this Client, she had just had her guest bathroom completely remodeled. It was lovely! As pretty as these new bathrooms are, they have a hard feel to them. So she was looking for something to soften the room and add some color. We looked at a lot of different, colorful fabrics. Ultimately, we decide to stay mostly neutral with a dash of color. Then we had to decide what color we wanted to accent with. My Client wanted to bring in purple. So we found a lovely purple in a shiny fabric.
The really tricky part about this bathroom was that there was a window right against the tile for the shower. So when we created our decorative shower treatment, we needed to treat the window at the same time.
That meant we wanted a Valance that would work well for both the window & the shower. We wanted something tailored and chose our Box Pleated Valance with Buttons. Often with this style, we put our accent color on the top, but in this case we needed it on the bottom to differentiate the Valance from the Panel. So we added pretty purple buttons and a purple band at the bottom. To bring the purple down, we added a purple tieback as well.
My Client loved the beautiful new addition to her lovely new bathroom!!
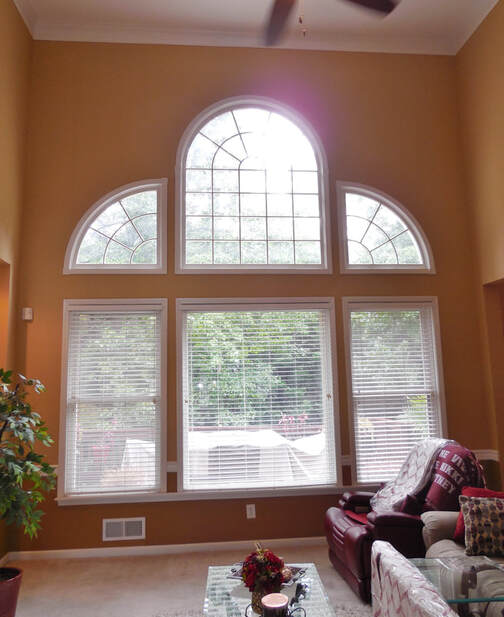
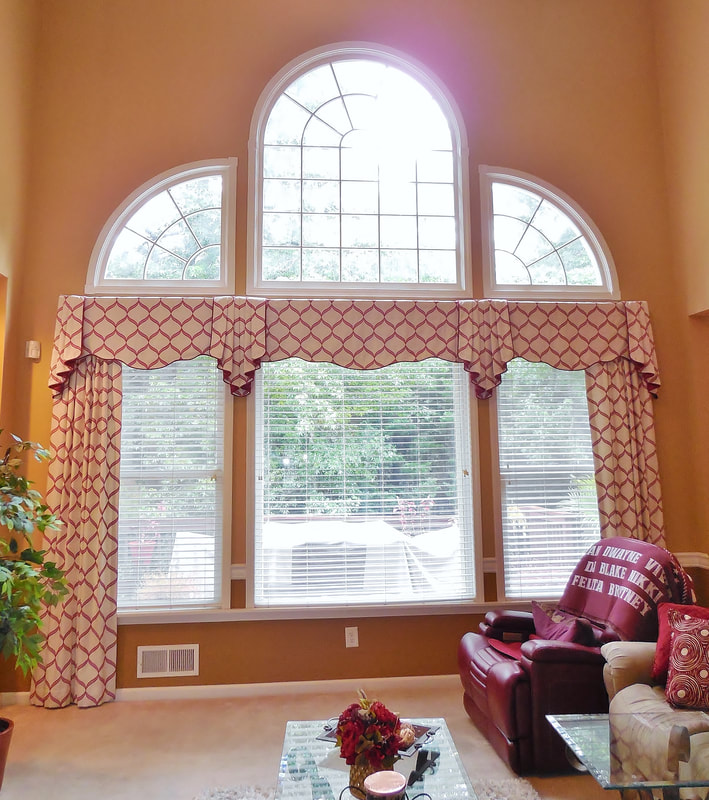
In this Living Room, they have red leather furniture, so it worked out so well to add some red at the window. It's a big window, and we could have done several different styles on it, but we decided for this big room, we wanted a big Treatment. So we decided on our Charlotte Valance with Panels underneath.
The great thing about the Charlotte Valance is that you can bring down a jabot (those are the longer pieces), in between the windows and really accent the architecture. We pulled out a solid red as our coordinating fabric. It's just enough red without being overwhelming.
My Clients love it!
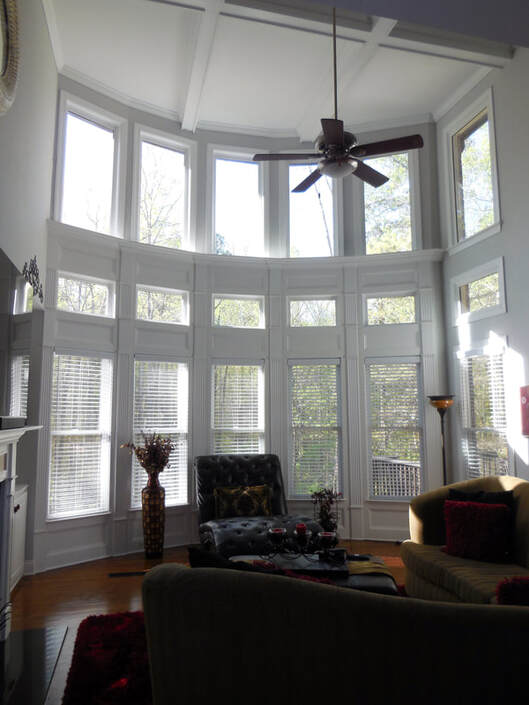
When I got the call from this lovely repeat Client, she was ready to tackle her 2 story Living Room windows. She has a similar setup to a lot of people with these windows - The curved wall with 5 windows in it. But she also has an extra window on the side. That made things a little more tricky.
Did we want to do Panels between each window? Did we want a Valance across the top and Panels coming down on the ends? Did we want just Panels coming down on the ends? And what do we want to do with the side window?
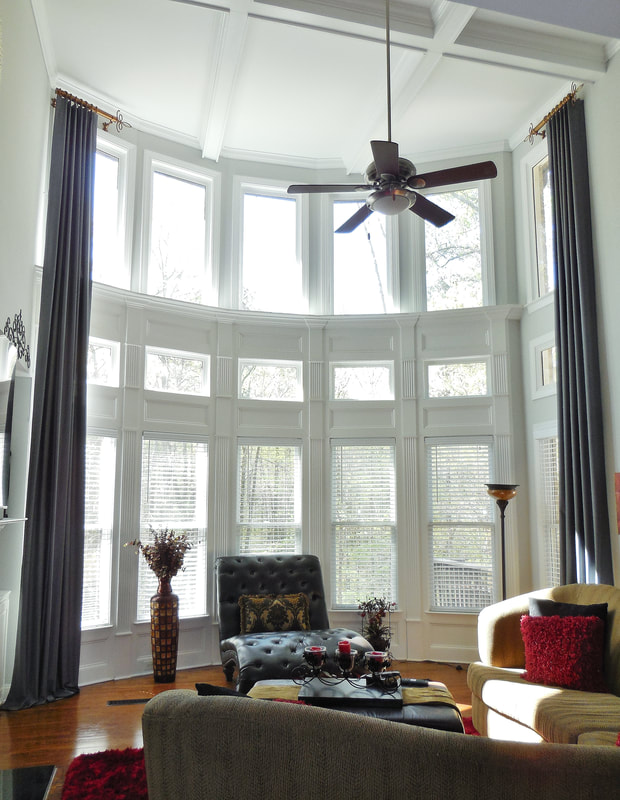
We talked through each of these options (and a few more), and decided we just wanted Panels coming down on the ends. Then we had to decide if we wanted to do another Panel on the outside of the extra window, or just use that as our outside border. We decided that having the Panel on the outside of the extra window would make it feel like it was part of the large window and not an afterthought.
Next up was choosing fabric. We decided on a charcoal glazed linen fabric for the Drapes. My Client was accenting her room with gold and we found the perfect match for our Iron Rods. We chose large finials because it will be up so high, you want to be able to see it.
As you can see, by including the extra side window as we did, the Treatment frames the whole window perfectly.
Adding Window Treatments to your 2 story windows is an investment that makes an amazing difference in your room and in your home! My Client was absolutely thrilled!
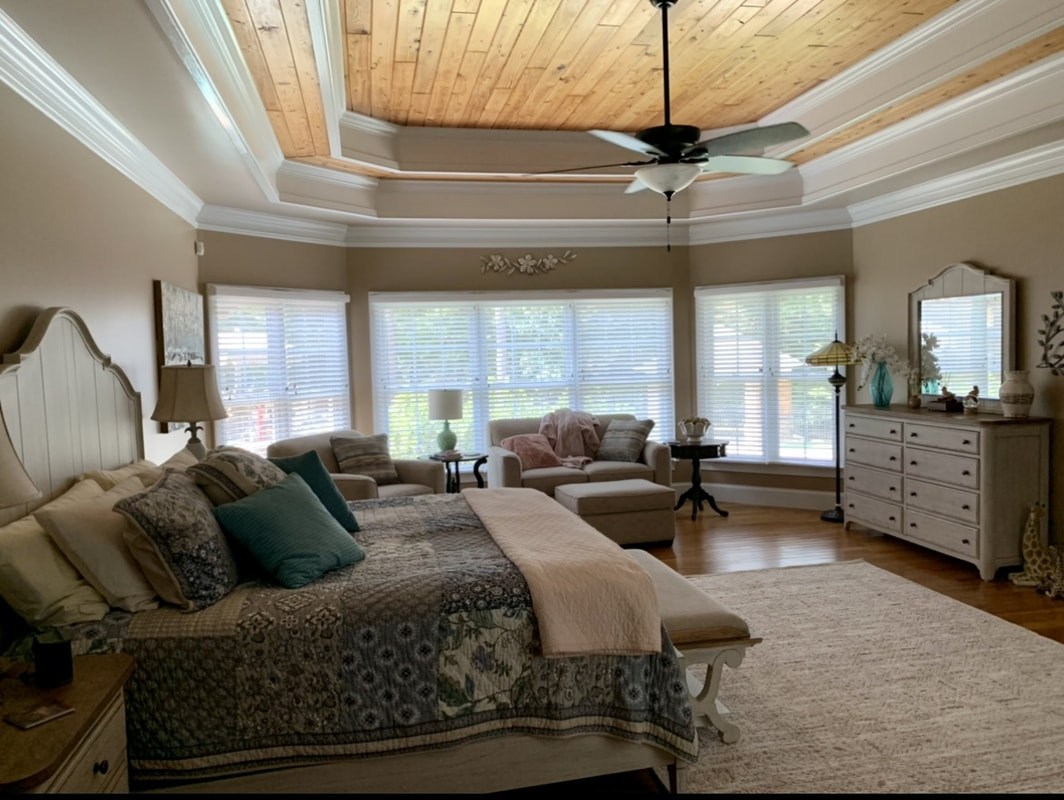
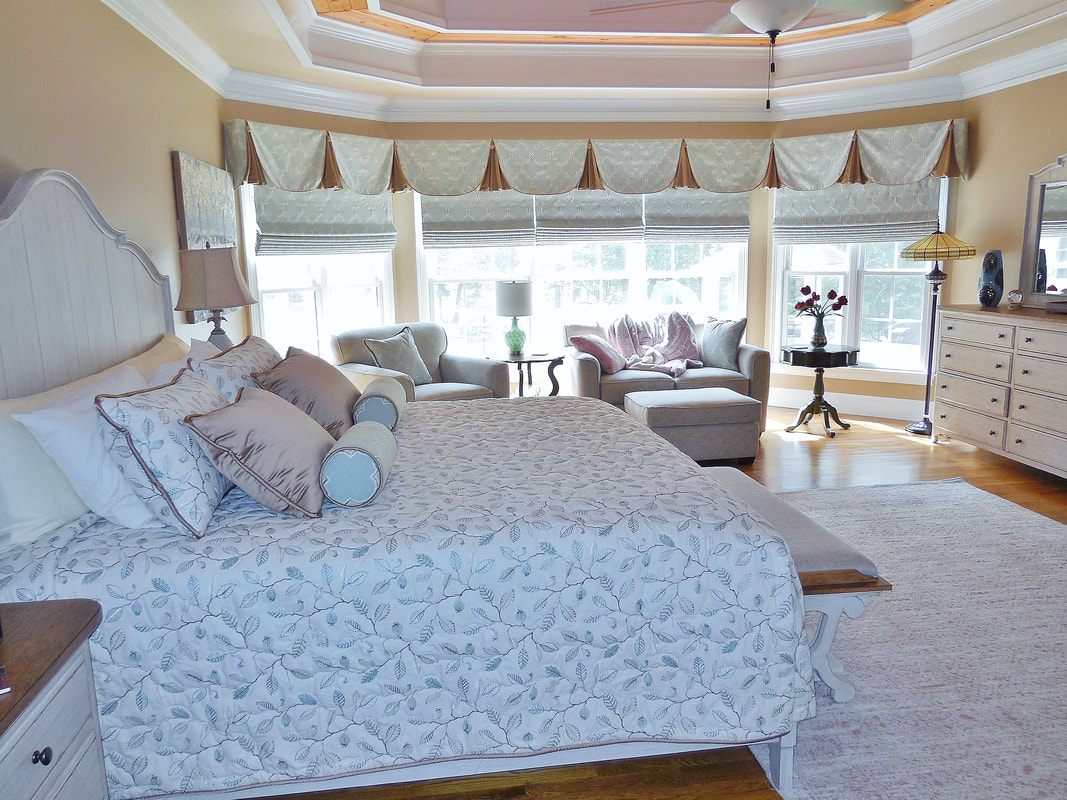
When I first met with this Client, we needed to do something to darken her Master Bedroom windows and give her some privacy. We were doing Roman Shades in the rest of the house, so we decided to continue that look throughout. But in the Master Bedroom, we wanted to do Motorized Roman Shades so that my Client could open or close them from the comfort of her bed. I mean, doesn't that sound awesome!?! You get comfy and then realize you haven't put down the Shades. Ugh! So instead of having to get up, you can just push a button!
Just having the Roman Shades was a bit too stark of a look for my Client, so we did Valances over them. We chose this lovely light aqua & tan geometric embroidered linen for our Valances & Roman Shades. We accented the Valances with a tan shantung.
After we installed the Valances & Motorized Roman Shades, my Client decided to have us make her some custom Bedding as well.
For the Coverlet, we wanted a fabric that went with the Window Treatment fabric, but we didn't want to use the same fabric. So we chose an embroidered linen in a lovely leaf pattern that had both the tan and aqua in it and accented it with the tan we used on the Valances.
For a more tailored look, we did a gusset (which is a cut out corner) on the Coverlet. This works really well if you have a footboard too! We finished it off with Shams in our leaf print & tan fabric. The we added a few Roll Pillows in our Window Treatment fabric to make it all come together & blend seamlessly.
My Client loves the finished look! She says the room finally feels like home - comfy & cozy!
When I first met with this Client, she and her husband did not necessarily agree on what they wanted to do with this window. She wanted privacy, he didn't feel it was necessary. She wanted it to make a statement, he was fine with it the way it was. Does any of this sound familiar?
We talked about a lot of different privacy options, but decided that Wood Blinds would add the warmth that she was looking for. Then we had to decide how to make a statement with this window. They thought we would be going below the arch, but that isn't very dramatic, so we talked about going above the arch. Should we do an arched Valance? Should we have a rod going all the way across with Panels on the ends? Lots of choices!
We decided we liked the idea of Panels best. Our next choice was, do we want 2 Panels or 4 Panels? This is generally client preference. We decided on 4 Panels - much more dramatic! Next choice, do we want a long rod all the way across? We decided to do short rods. Then to create even more drama, we chose to do them at different heights!
On the Installation day, the husband was home, and the wife was not. He left us to put up the Window Treatments. When we were finished with this room, he came in, and this is what happened:
He came in behind me and (loudly) said "HOLY $@&#!!!"
And I'm thinking: I really hope that's good...
After a long pause, he says: "That looks incredible!! I didn't understand why [my wife] wanted Window Treatments, but now I totally get it!!" He proceeded to stare at them for about 15 minutes. Then he came with us to the next room where we were installing Valances and kept talking about how much he loved everything!
They turned out great! Everyone is happy and I think we have a new Window Treatment convert! :)
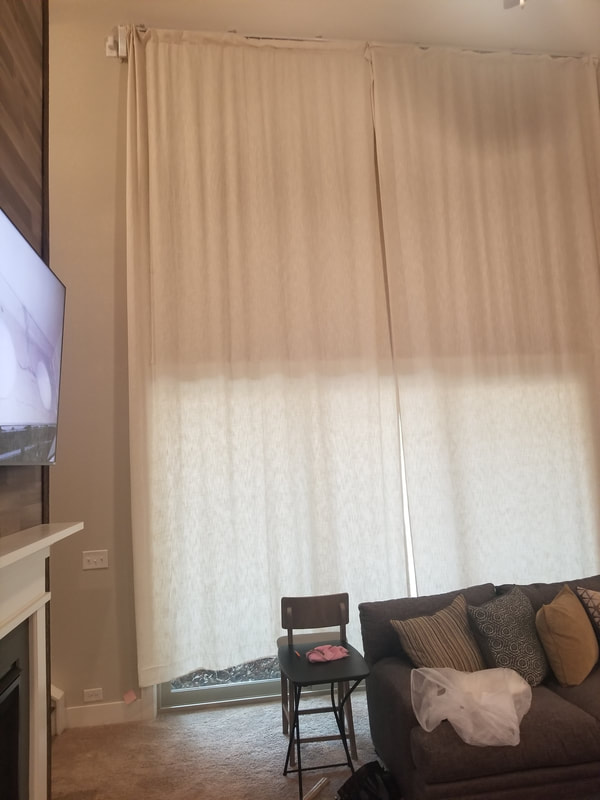
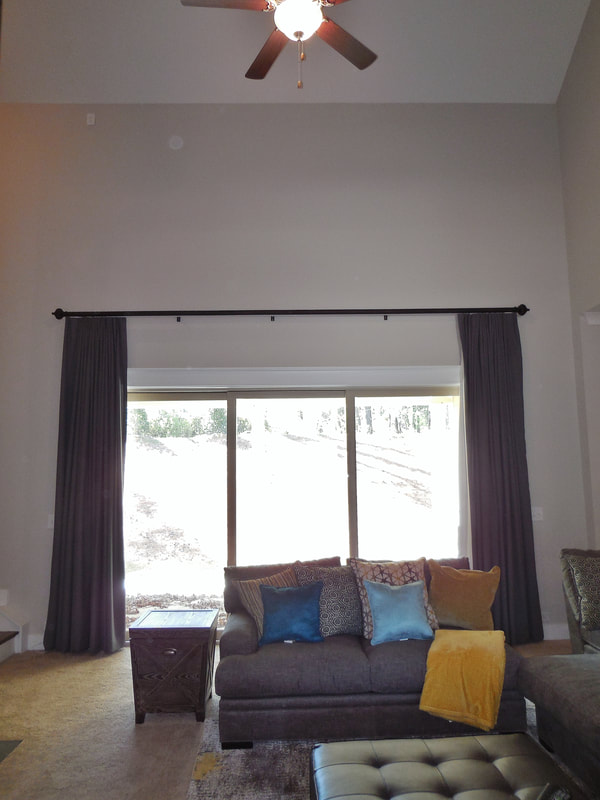
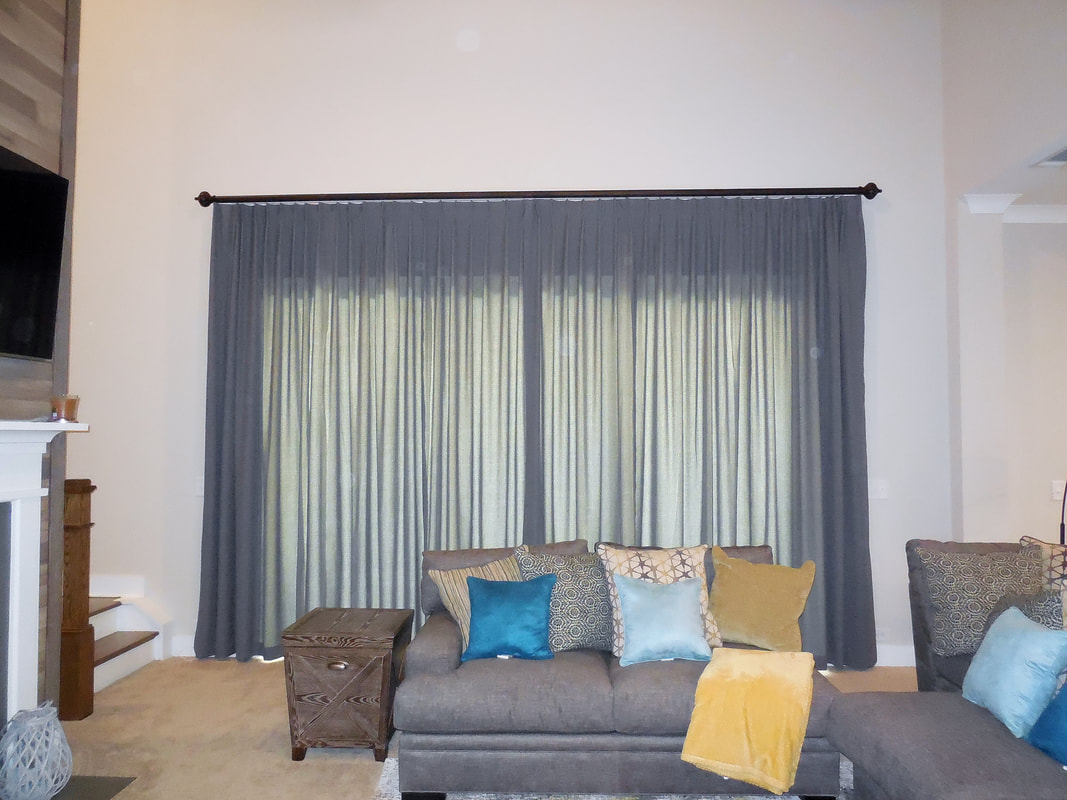
Recently, I got a frantic call from this Client. They had a Designer do Window Treatments for them and they weren't happy with them. They thought maybe they just needed pleats added (that's what the Designer told them anyway). I asked them to send me some pictures so I could take a look at them.
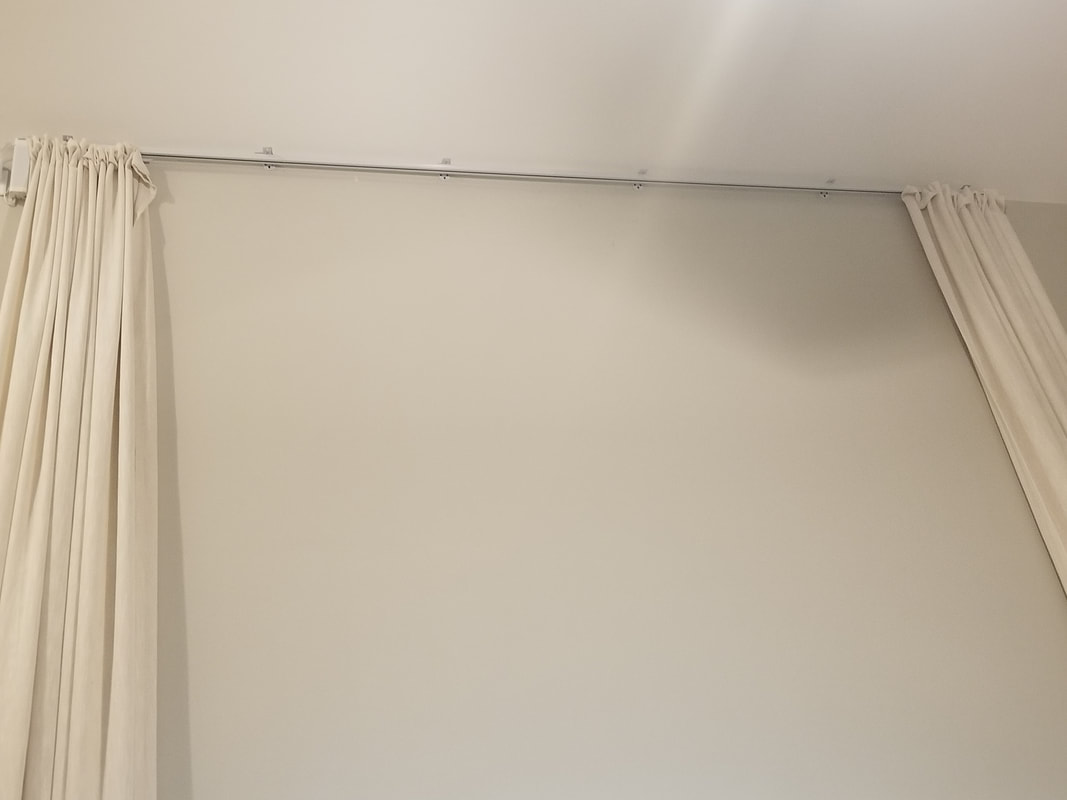
When they sent me the pictures, I was shocked! I could definitely understand why they weren't happy! But I was most concerned by the fact that a Designer did these for them. They were honestly, the worst Window Treatments I've seen in 29 years of doing this. Everything was wrong with this. Now, how do I tell them that? After all, that's not what anybody wants to hear.
I gave them a call and we talked about all the issues. First, Pleats were not going to help this. If we put pleats in, it would make the Panels smaller and then they wouldn't cover the window. Next, you should never go to the ceiling in a situation like this. If there were windows up there, absolutely go to the ceiling, but this is just too much wall to cover and it looks off. Then there was the length. If you notice, they are a good 12" off the floor. It looked like someone had taken the hem out in an attempt to lengthen them, but there was no way they would get that kind of length out of a hem.
So, with all these issues (and a few others), we were just going to have to start over. The trick was they were having a housewarming party in 3 weeks. That meant everything had to happen fast - because even though this wasn't my fault, I was NOT going to let their friends & family see their brand new home looking like this!
Since there was no time to lose, we met the next day and went over all our options. The rod was Motorized, so we wanted to reuse that, but we needed to make it pretty. No one wants to see a utilitarian white rod holding up their Curtains! Those are to be used underneath Valances where they aren't seen. For this room, we didn't want to do that, so I decided to put a wood fascia on the front, so it looks pretty.
Then we had to decide on fabric. Unfortunately, since there wasn't enough fabric to cover their window, we needed to do something else. We decided to use their existing Panels in another room where they could be shortened, lined and pleated - and all around look much better! The original fabric didn't do anything for the room anyway. Since they had a lot of darker accents, the wood wall and a charcoal sofa, I thought charcoal would look really nice!
The darker fabric and the darker rod really helped bring the room together. My Client was delighted!
In fact, she said "[You] came in and turned around a previously horrific job into a miracle in a really short time frame of 3 weeks. I am very thankful!"
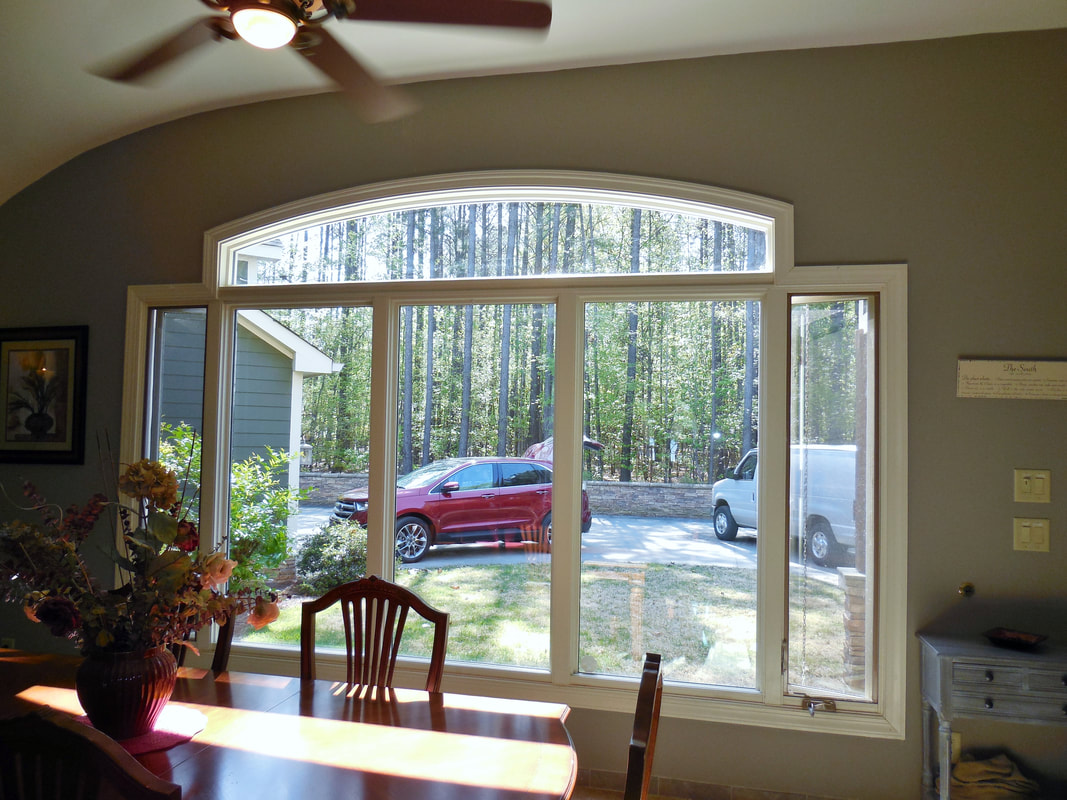
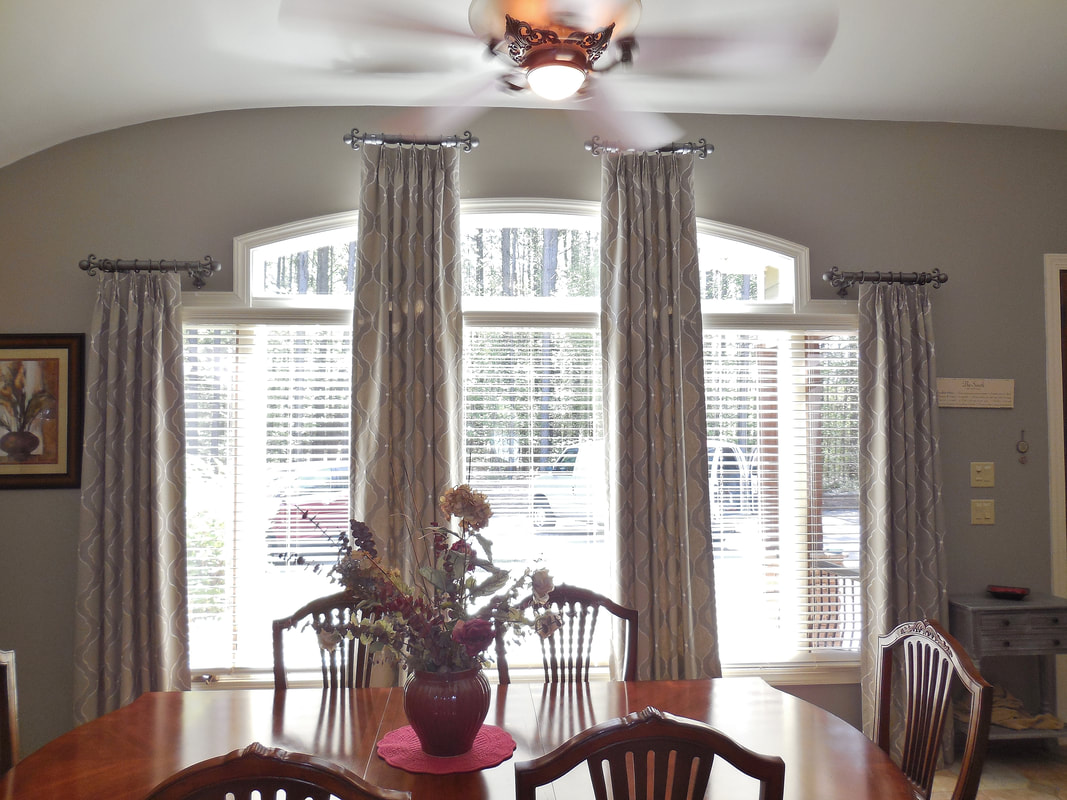
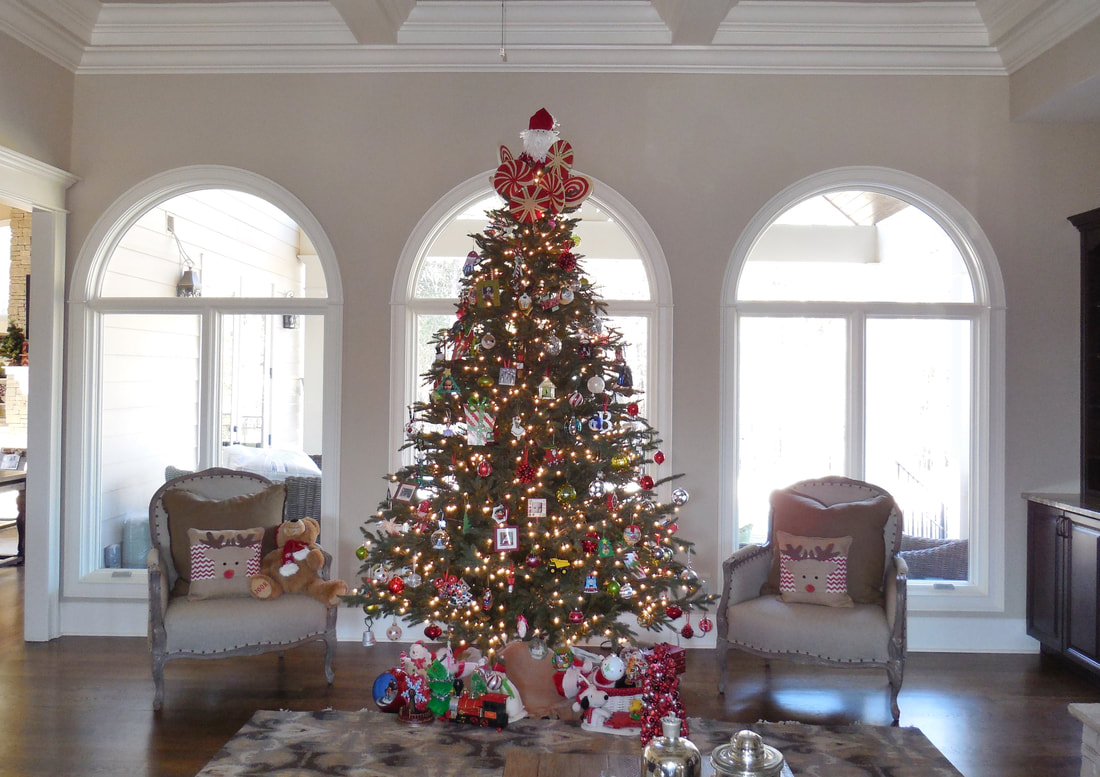
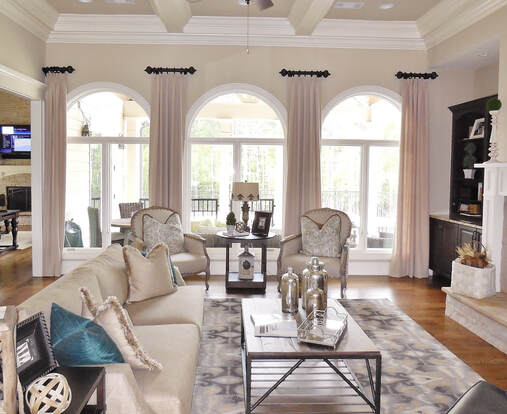
This wall of windows is the first thing you see when you walk into my Client's home. They are beautiful arch windows, that we didn't want to cover, but the area really needed some softness. Since she had a nice view out the windows, so we stayed pretty neutral. That way it would frame the view and not detract from it.
We had some issues to work around in this room. There is moulding that cuts into the window on the left side, a built-in bookcase on the lower right, and a bulkhead on the upper right. Because of these issues, we couldn't go out as much as we wanted to on the sides. We compensated with the size of our decorative rods & Panels.
In order to bring some more height to the windows, we went above the arches.
Our Ring Curtains are nearly the same color as the wall, which is a very elegant look. Since the plan wasn't to make this room dressy, we used a linen fabric for our Panels. The dark decorative rods help bring in the other wood elements in the room, and make a nice contrast against the Panels.
The Window Treatments are the perfect finishing touch to a lovely room. They don't cover any of the windows (or view), but add a softness to the room.
Don't let different windows scare you, there is always a way to dress them up!
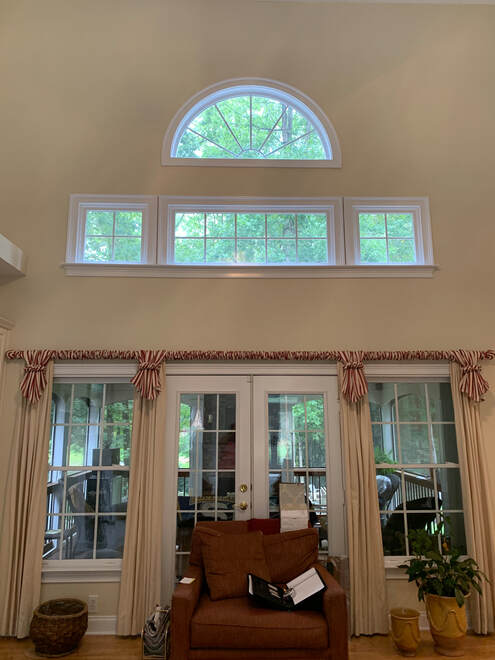
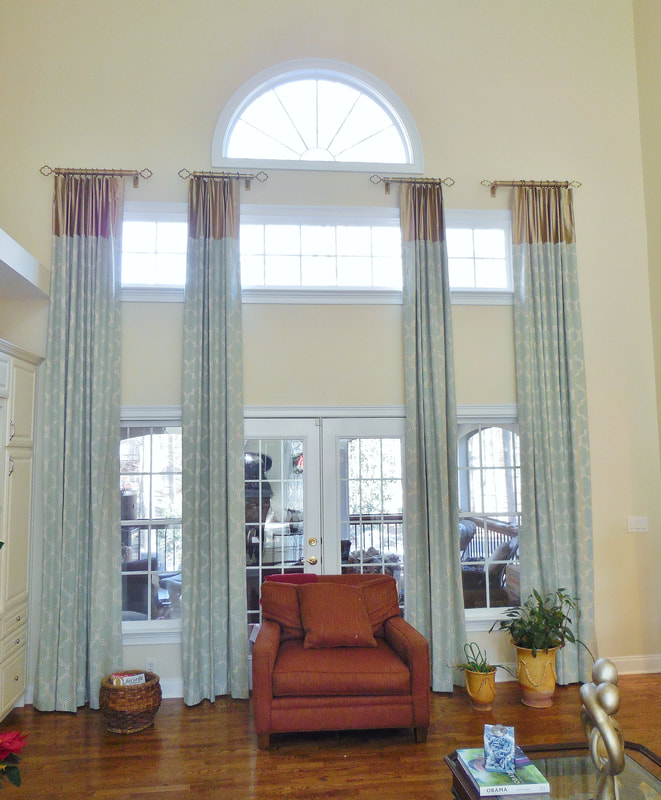
When I met with this Client, we needed to create a Window Treatment plan for her open floor plan. She was changing from reds to blues (so ignore the red chair, new furniture is on the way). We chose aqua as the color we were going to use everywhere, just in different ways.
Since we had tall windows in the Family Room, Panels will work best in there. The treatments she had before were only on the low windows. I wanted to use the height so I decided to go up higher.
We wanted something nice but not formal, so we choose an aqua embroidered linen. Since it has the tan in it, we are accenting our Panels with a tan band across the top.
My Client loved the finished product! She said it was "beyond her expectations!"
